With our Google Sheet structured and our special Gmail label ready, we've essentially built the foundation and framework for our new automated system. The groundwork laid in the previous sections, drawing on principles of organization and data design, was the essential 'why' and 'what'. Now, we transition from planning to execution. It's time to open Google Workspace Studio and build the engine itself, starting with the most critical component: the trigger.
Think of any workflow automation as a simple two-part sentence: "When THIS happens, do THAT." This section is all about defining the "When THIS happens" part. In the world of automation, this is called a trigger. It's the starting gun, the doorbell, the initial signal that tells your entire workflow to wake up and get to work. Without a clearly defined trigger, your automation is just a set of instructions with no command to begin.
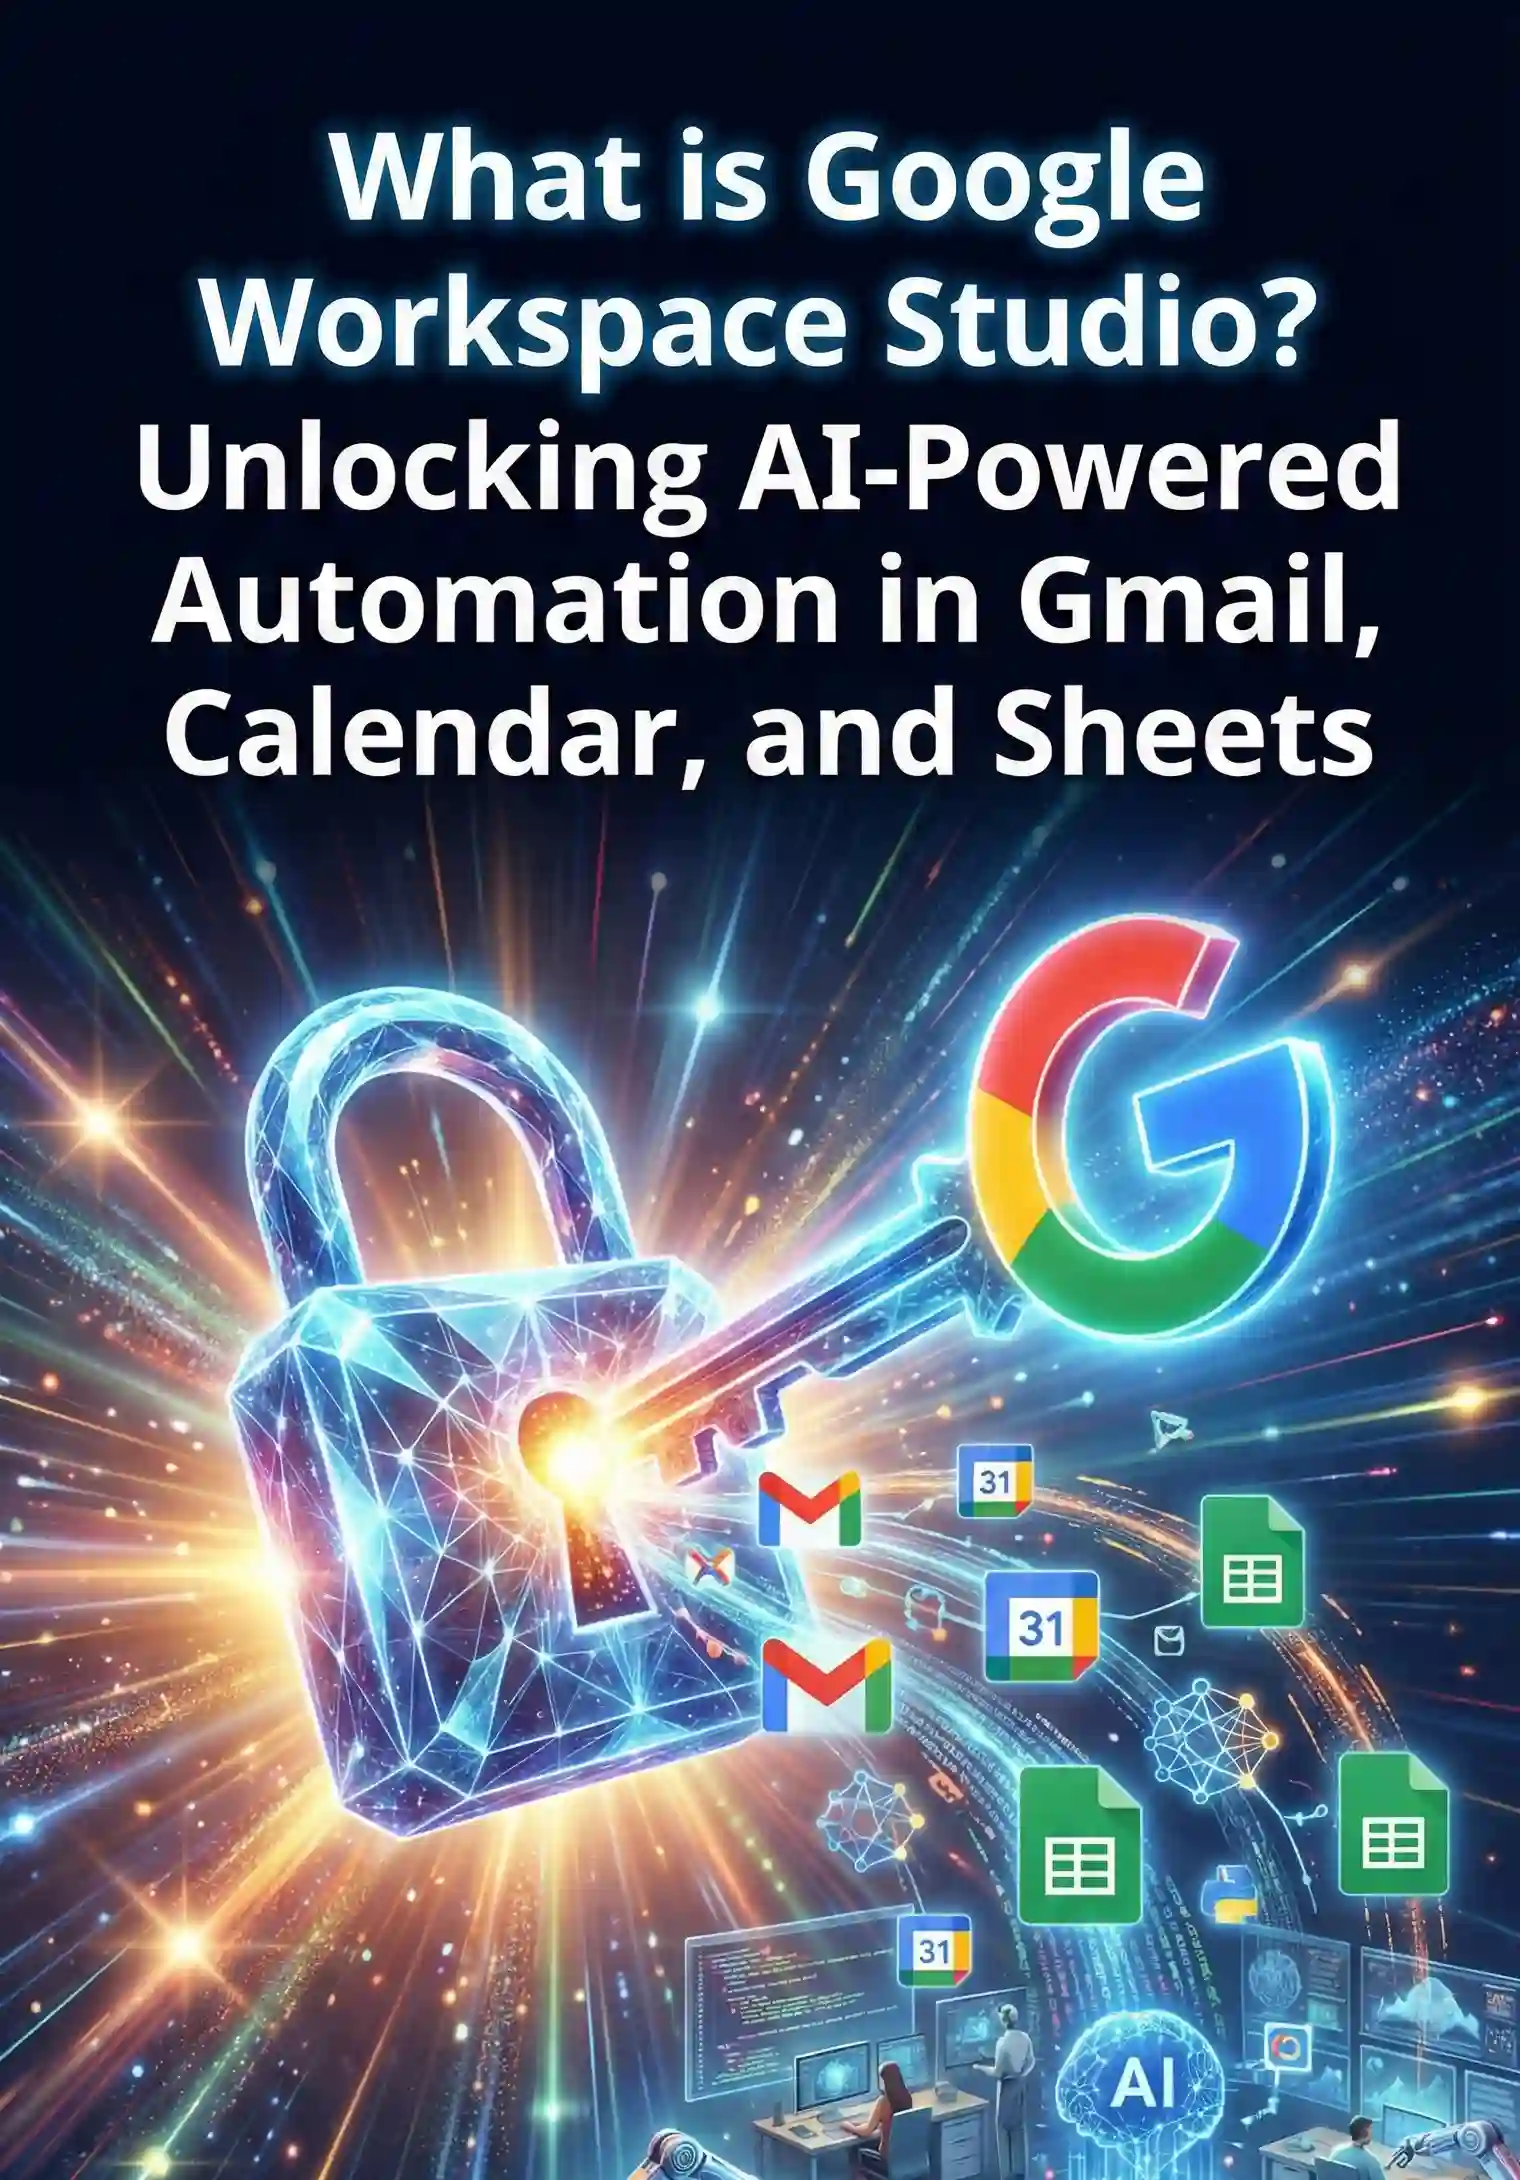
Our goal is to create a workflow that activates the moment a specific type of email lands in our inbox. Therefore, our trigger will be 'New Email' in Gmail. This is one of the most powerful and common triggers you'll use, forming the backbone for everything from customer support logging and sales lead tracking to simple project management updates. Mastering this first step will unlock a vast landscape of potential automations.
graph TD;
    A[New Email Arrives in Gmail] --> B(Workspace Studio Trigger Fires);
    B --> C{Workflow Begins...};
Let's walk through setting this up in the Workspace Studio interface. Once you've created a new workflow and given it a descriptive name like "Save Invoice Emails to Sheet," you'll be presented with a blank canvas asking for your first step. This is where you'll configure the trigger:
First, select the application that will initiate the process. In our case, this is Gmail. You'll see a list of potential Google services; find and click on the Gmail icon.
Next, you will choose the specific event that Workspace Studio should listen for. The options might include 'New Labeled Email', 'New Starred Email', or a general 'New Email'. For our project, we will select the 'New Email' trigger. You will then be prompted to authenticate your Google Account, granting Workspace Studio permission to securely access your Gmail data on your behalf.
This is the most crucial configuration step. After connecting your account, you must specify which new emails should activate the workflow. A common beginner mistake is to leave this field set to the default 'Inbox', causing the workflow to run for every single email you receive—a quick way to create chaos and exhaust your processing limits. This is precisely why we created a specific label like 'Invoices-to-Process' in the previous chapter. In the trigger settings, you will select the 'Label' option and choose your designated label from the dropdown menu. This ensures your automation only runs when an email is intentionally placed in, or filtered into, that specific label.